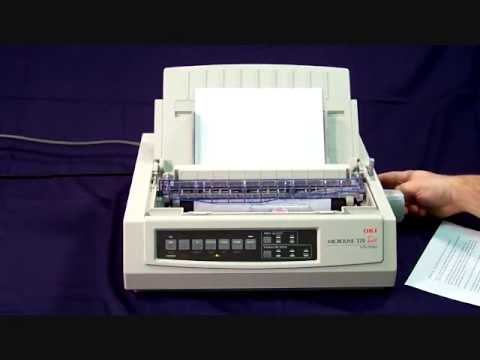
In this video, I will show you how to set up the Okidata printer 320 or 321. I will also show you how to print out the manufacturer settings for this printer. The main difference between the 320 and 321 is that the 320 has a wider carriage, which is used for printing out forms wider than 8 and a half inches. The setup procedure is exactly the same for both printers. Today, we will be setting up the Okidata 320. The first thing we need to do is make sure the power switch is on. The power switch is located on the right side towards the back. Once the "paper" light is on in the front, you'll notice the alarm light also comes on. This is because the printer recognizes that there's no paper in the printer. Before we load paper in the printer, we want to make sure the guides are set properly. You'll notice there's a left-hand guide and a right-hand guide. The left-hand guide needs to come all the way to the right until it hits the stop. Then we're going to back it off 1/8 of an inch. Now place a piece of paper in the printer. You'll notice the alarm light goes off. Once the paper is in the printer, you want to take the guide on the right-hand side and push it to the left until it snug up against the piece of paper. You are now ready to start printing on the Okidata printer. Before we start printing forms, we need to print out the manufacturer settings to make sure they are set to work with Lot Wizard. To print out the manufacturer settings, we need to get the printer in menu mode. To accomplish this, we need to hold down the shift button and...
Award-winning PDF software


Video instructions and help with filling out and completing Can Form 2220 Printing