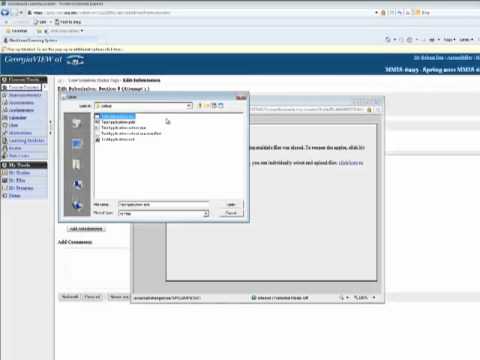
Alright, so this video is going to show you how to upload the executable file that's created by Visual Studio into Web CT. So, once you've completed your form and all your coding, click Save and make sure all the changes are saved. Then, you can hit the debug icon or hit F5 and run the debug one more time before searching to upload the file. Once that's done, we can go to Web CT and click on your class and the assignment that you want to turn in. After that, click attachments, then computer. The file should already be in the folder you want it to be in, but typically it'll be in the "My Documents" folder. From there, navigate to your projects folder in your Visual Studio folder. This is usually where the files are saved. Find your application and drill down into the folder again. Next, click on "bin debug", and here you'll see the executable file. It's usually the first file that pops up. If you don't see the ".exe" extension, it may be due to your settings in Windows Explorer. To show you that I have the application folder open here and it's the same folder, go to "Folder and search options". This is for Windows 7, so it should be something similar on XP or Vista. Find "View" and then go to "Hide extensions for known file types". Make sure this is unchecked. If it's checked, the ".exe" will disappear, and when it's not checked, the ".exe" will appear. Once we're back here and you see the ".exe" file (not the vs host ".exe" or the ".exe" manifest files), double-click on that to upload it. You can always test and make sure it uploaded correctly by clicking on it and running it. Then, you...
Award-winning PDF software


Video instructions and help with filling out and completing Will Form 2220 Filing